]
Nano Quadcopter a common gateway drug and larger crazily cheap Chinese video drone
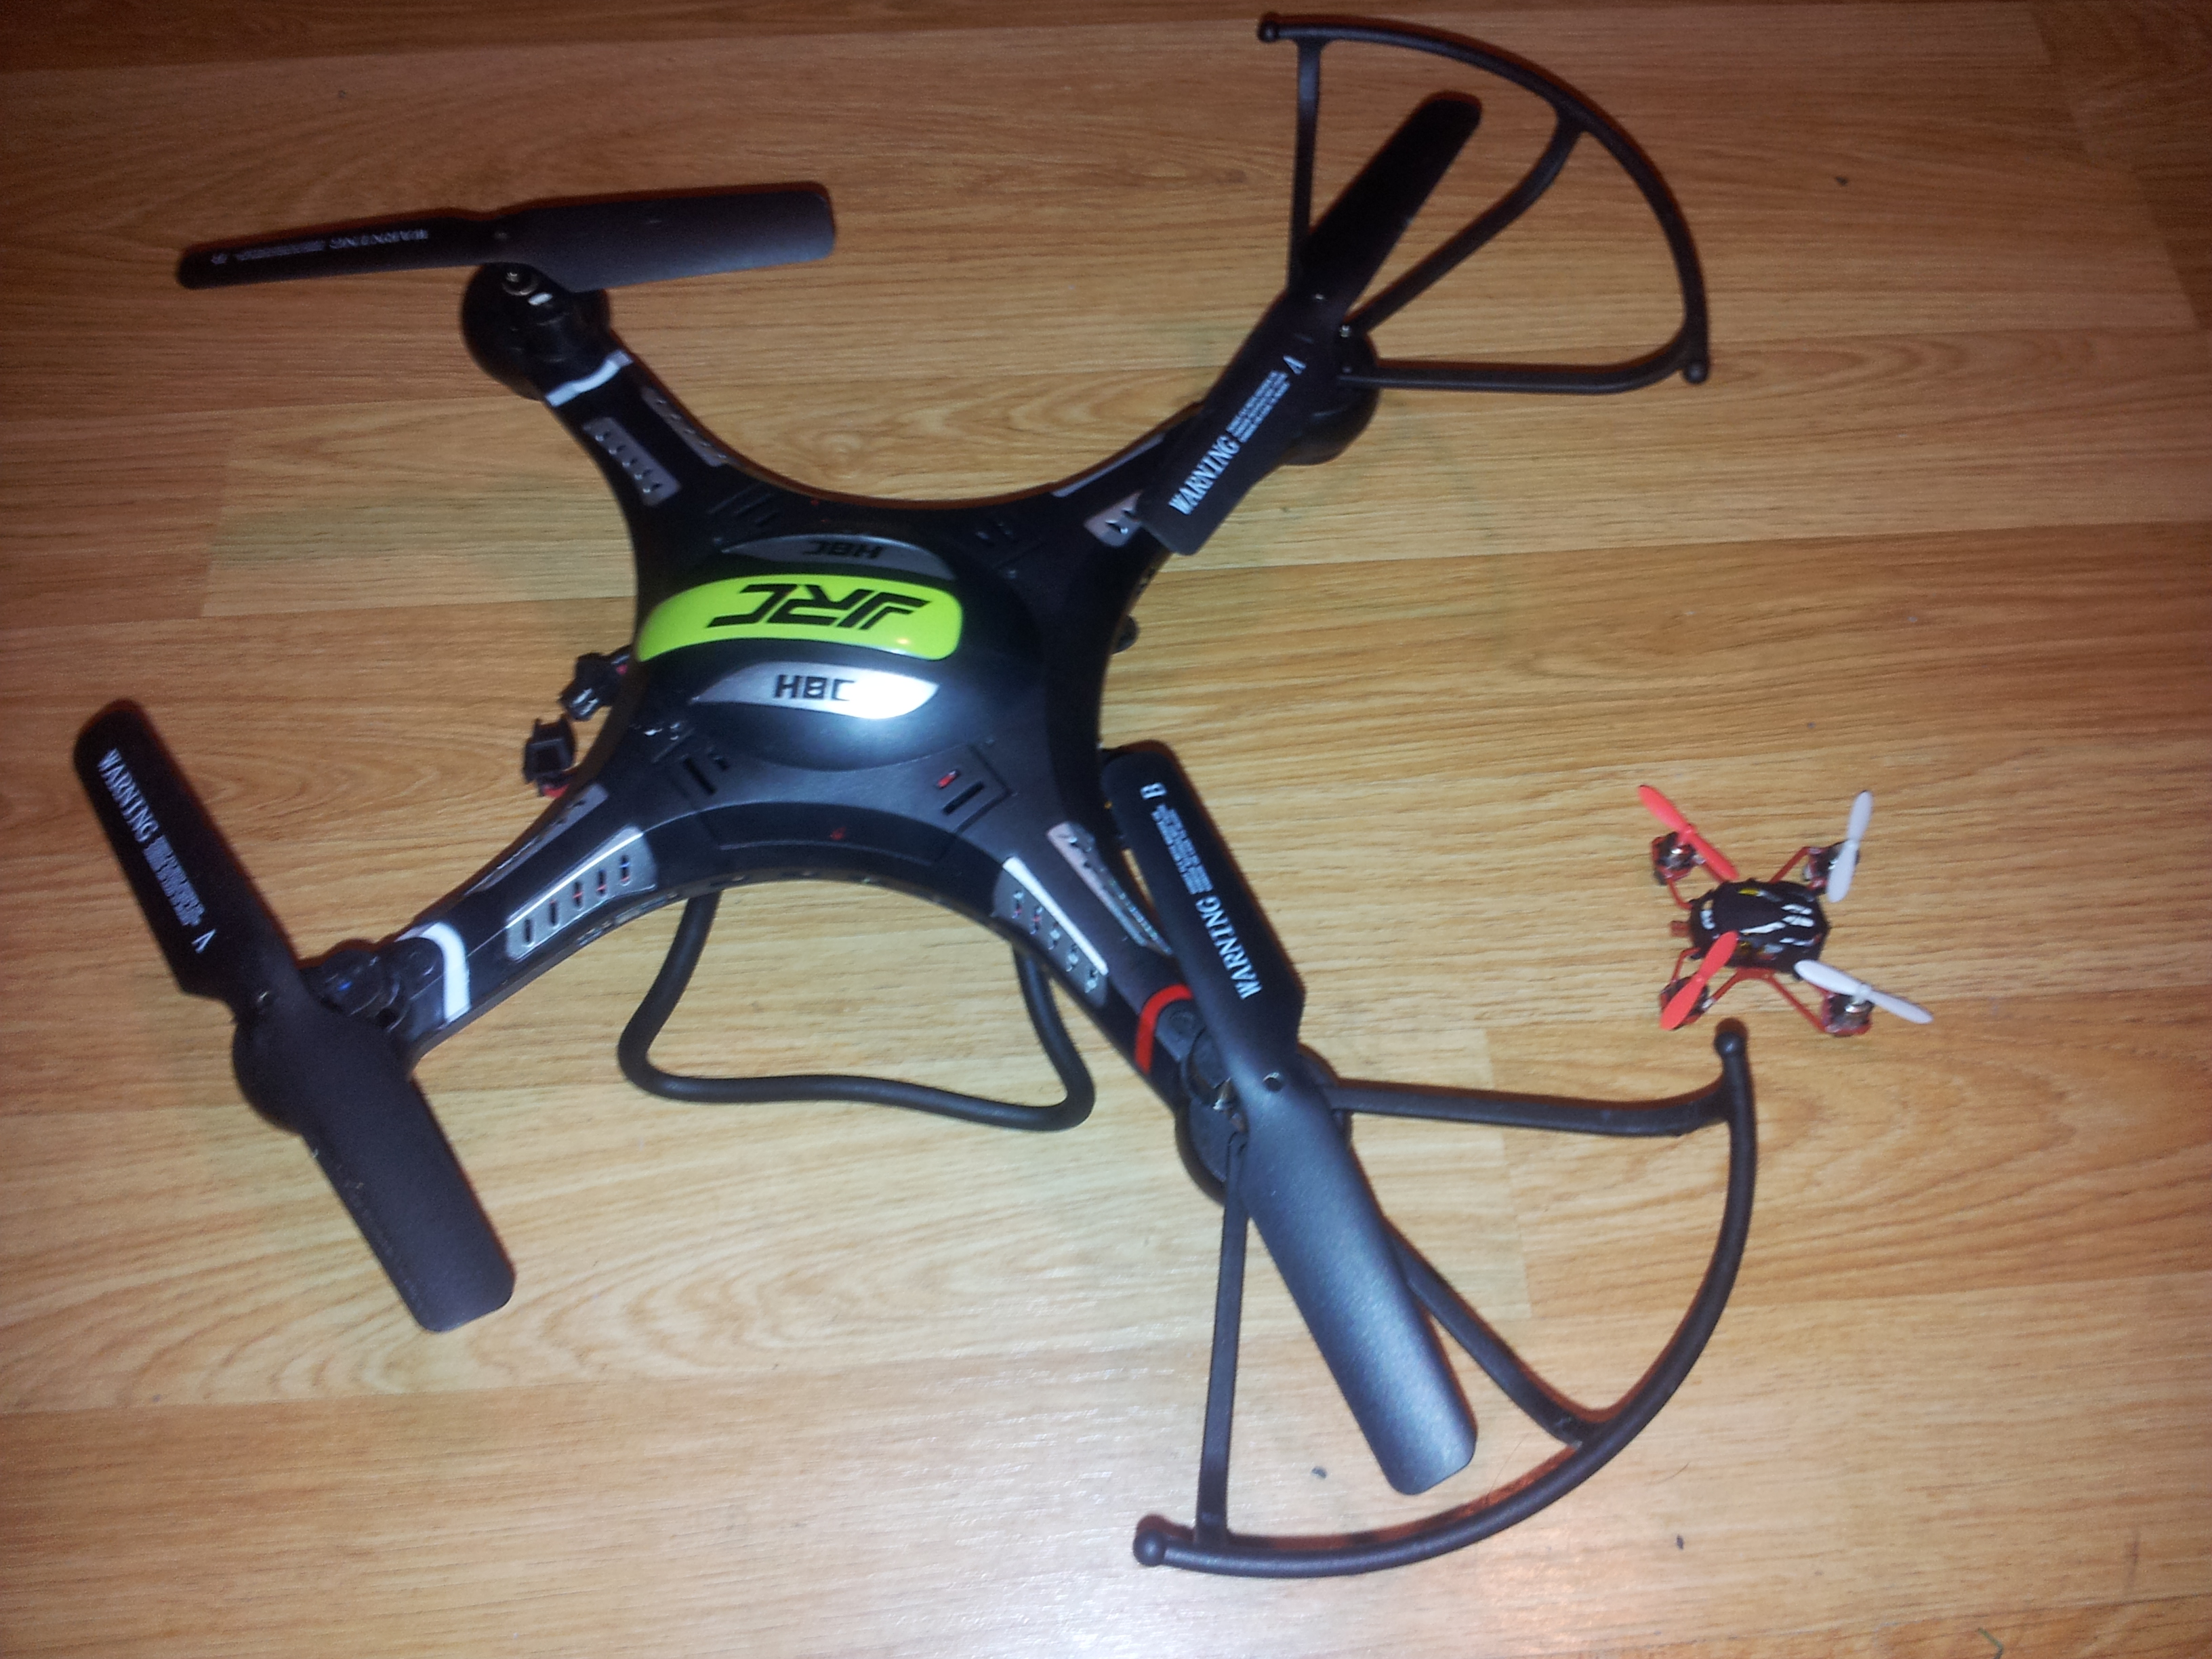
Well Argos have a lot to answer for... half price... rude not to I thought! while such a small craft like a nano quadcopter has its short comings (wobbly motors to name one!) for sure they are fun and definitely give you a taste for the hobby. The biggest drawback has to be the limited space in my living room, I only just had enough space to learn coordinated turns (and hey I'm still no expert!) Just as I was getting to grips a good friend very kindly gifted me the JJRC H8C (unbelievably not much more expensive than the nano! scary how China does this...) Without doubt this is a fun piece of kit, so light it could fall from a decent height and just bounce! you can throw it round the sky and even practice some basic manoeuvrers, being light though you have to pick days with very little wind, a stiff breeze and you're unlikely to make any headway. While it can do some acrobatics - ultimately pressing a few buttons to do a preprogrammed roll or flip is somewhat less than satisfying. So like any addict there is little option than... MOARRRR, moar power, moar speed, moar control... This is where the deep research must start! building your own quad while rewarding just in itself, is far from a simple exercise - while some components are fairly interchangeable, others must be selected with care. There are elements of electronics, aerodynamics all sorts of fields. Because I wanted tight control of the budget and be sure that the design was good (I sure didn't want to build something that was impossible to fly, it's all to easy to make an expensive mistake!) This is where RadioC.co.uk came in handy, providing an excellent set of kit with basically everything I needed to get flying. What's really nice is that the guys are really friendly and happy to help (but hey they have business to run so don't plague them! ;) ) you can really tell its more that just a business to them. While it does look like their website is often out of stock of all sorts of things, they have a rapid turn over and don't forget the field is a rapidly changing one and who wants 500 obsolete widgets on their shelves... That said they are happy to speak to you and either source alternatives or find what you're looking for. The kit landed quickly and despite a bashed about box, everything was in good condition (decent padding) with nothing missing - though I have to admire the hiding place for the sticky pad, (already attached to the receiver!) While a some motors are specifically clockwise or anticlockwise motors, (meaning identified wires and different thread handedness), many however are happy in either direction, and as you need to have specific motors rotating in specific directions, its better to connect your first motor with temporary scotch blocks.
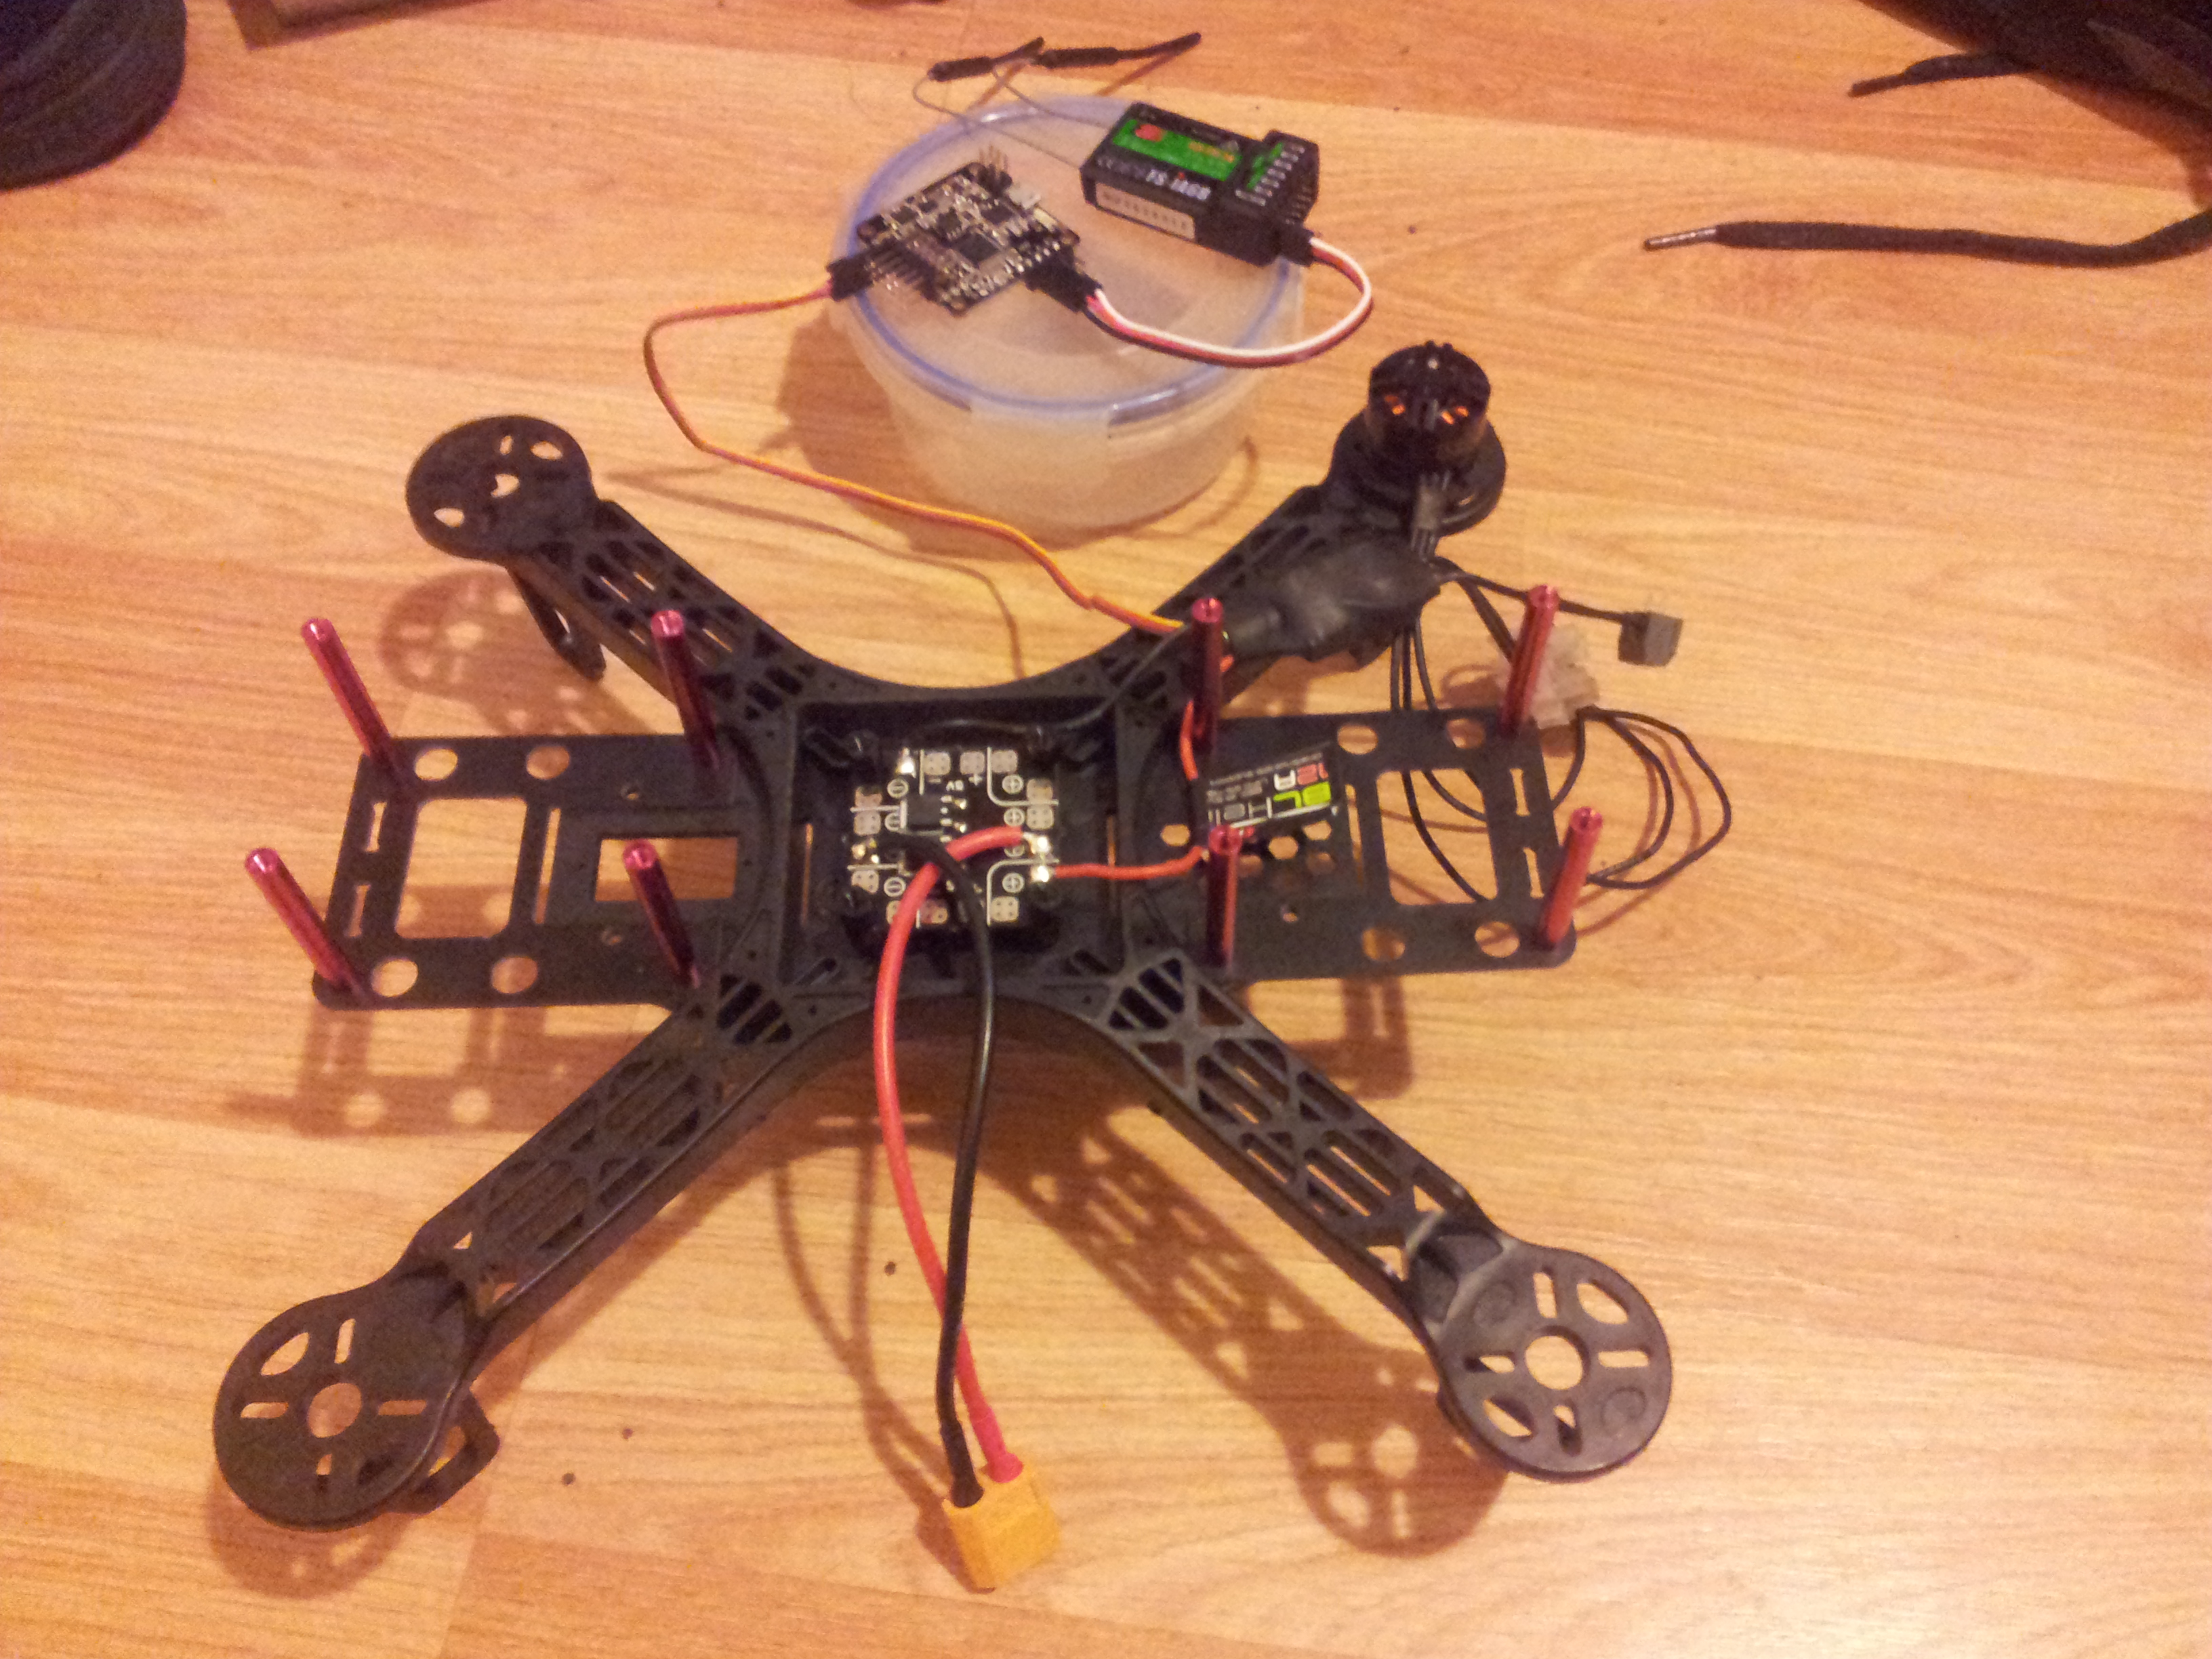
The ESC's (electronic speed controllers) sit in between the motor and the flight controller, its usual to connect the motors differently depending which direction the motor needs to turn. However I noticed that the ESC's had distinct sides - with one side having the cable connections, so I decided to mount two ESC's upside down relative to the other two. This has the effect of reversing the connection without having any crossed over cables.
Having one motor wired up (all be it with a temporary connection) I could use the flight controller linked to my laptop to make the motor spin. The nice thing about cleanflight is that the config software is a chrome application, meaning its cross platform which is nice as it mean I don't have to suffer windows....
Actually getting the flight controller connected to the laptop showed me the wide range of facilities available which could easily be overwhelming if it wasn't for the manual which as it goes is actually not too bad (something that can't be said for all the flight controller software out there)

Once I was happy with the motor installation, I could go ahead with mounting and soldering all the ESC's and motors in place. Wanting to keep the motor and ESC leads a reasonable length in case I later need to relocate to a different frame, I took the motor wires past the ESC's and double back with the ESC output wires. To ensure a good electrical connection I chose to solder (some people use bullet connectors but you'll get losses - these are high power connections!) The PDB (Power Distribution Board) is really just a great place to wire together all the ESC's and the battery together, mine happens to have a couple of 7805 voltage regulators, which I may use for a few LED's. The flight controller itself is being powered via the ESC's. Handily when it comes time to connect the receiver to the flight controller you don't need a separate connection for each controller channel, there are a number of standards (I love there are so many standards to choose from!) but iBus seemed problematic so PPM seemed to be the way to go with the Flight controller providing power and ground the signal connections in one handy JR type lead. Obviously you have to configure your flight controller to use PPM, which again with cleanflight was fairly obvious.
While on the topic of cleanflight there are a number of things that need configuring to suit your build. There are lots of youtube videos about configuring cleanflight and the GUI is just a joy to use. I was advised to use LuxFloat PID with yaw pitch and roll rates of 0.3, which for the time being seem fine to me with it being stable and easy to hover even in light gusts of wind. (Actually easier to hover than a nano quad!)
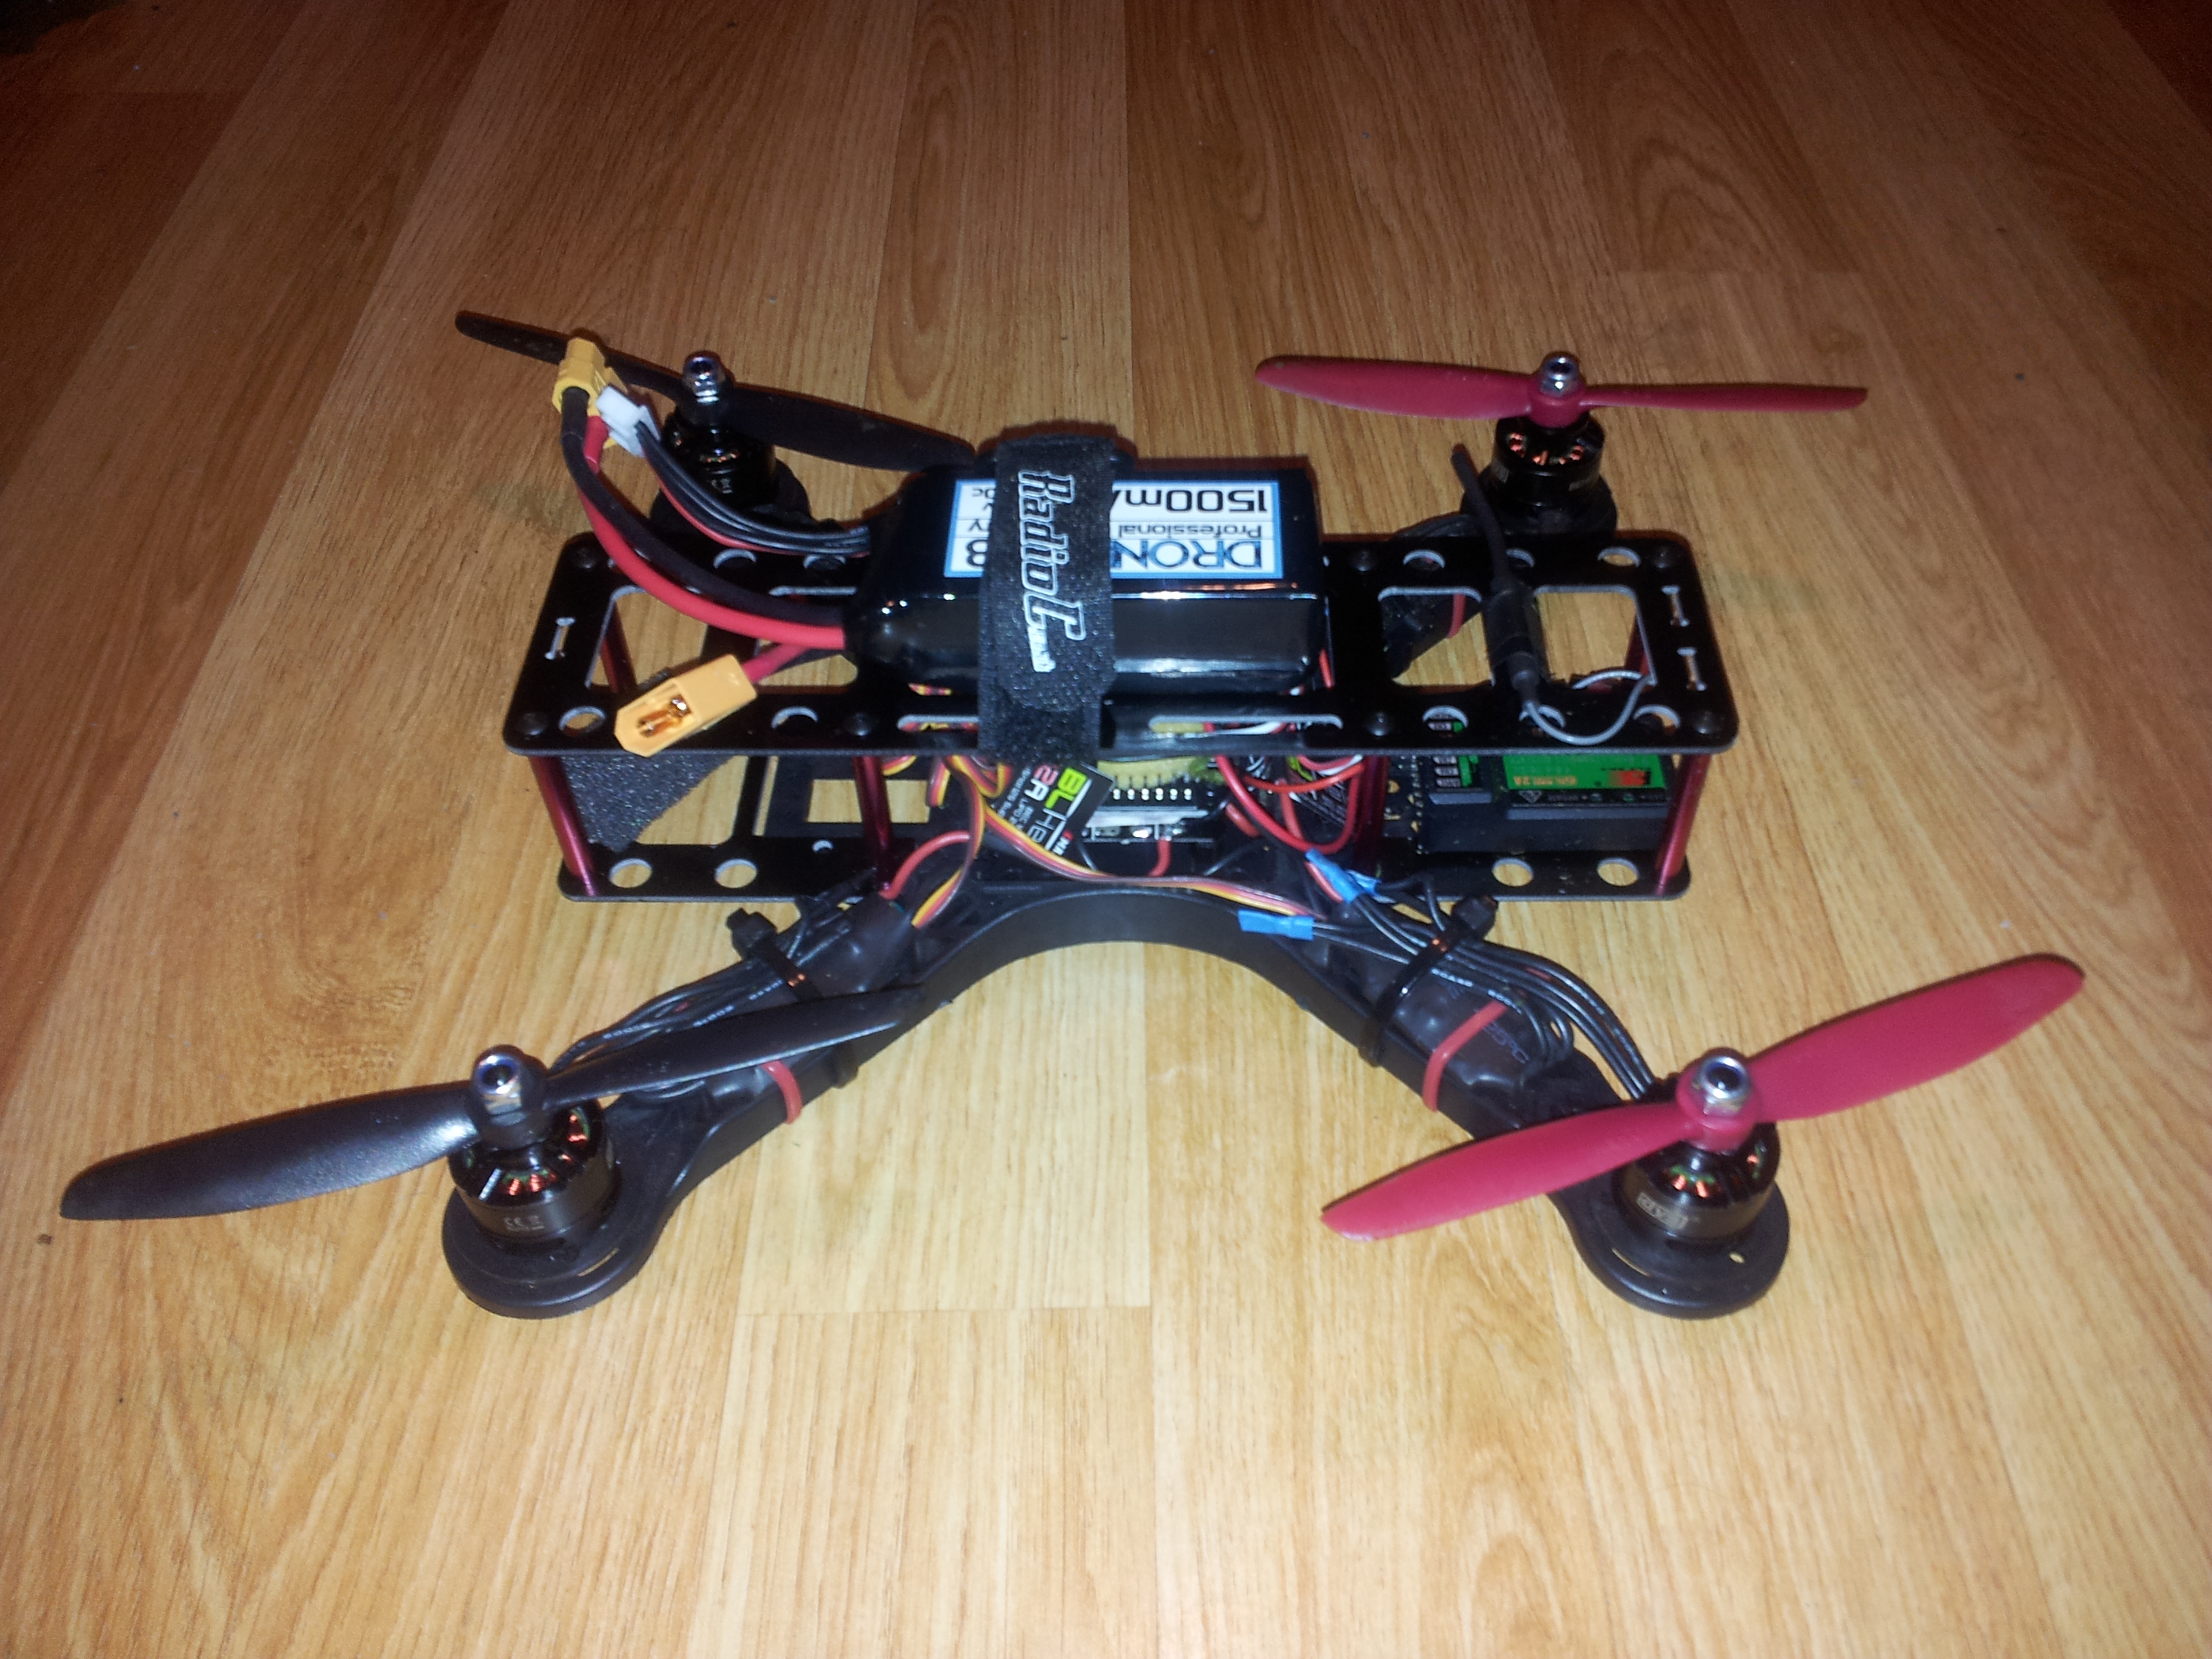
You might notice a lack of legs on the finished quad, basically the legs are grass anti matter, if they come into contact with a critical length of grass they simply vanish never to be seen again. Not a great design - I'd even used a small amount of general purpose glue on them, but to no avail, its not terribly critical but I guess I might be using something like foam pipe insulation in the future.
All in all I found the experience of building my quad very interesting and rewarding, if you fall down this particular rabbit hole, just be sure to go carefully, take your time and double check everything!
...and the flying, well even with my toned down rates - oh my is it a whole different class, a real buzz to fly and thats just line of sight, I can only imagine what flying it FPV will be like but that's another chapter - sometime after the bank account recovers!
Here's the list of the kit I used:
1x QAV250 Nylon Quadcopter with extended Frame
1x PDB
1x Acro Naze Board
4x DYS 1806 2300kv Motors with fittings (8A)
4x Emax 12a Simon Series ESC
1x set 5030 Diatone green / yellow props
1x Drone Lab 1500Mah 3s Lipo Battery 30C - max 60C(10sec)
1x 25 Cable Ties
1x JST 15cm Wire
1x XT60 16AWG Wire
2x Mounting Kit for FCB
1x Sticky pad for receiver mounting
1x Velcro Battery Strap
1x Flysky FS-i6 2.4Ghz 6CH Transmitter & Receiver
1x Imax RC B3AC 2-3S LiPo RC Battery Balance Charger

I added some extra kit
another battery
1x DAL 'Unbreakable' 5040 Propellers 2x CW & 2x CCW Set Black
1x DAL 'Unbreakable' 5040 Propellers 2x CW & 2x CCW Set Red
flight weight:

362g without battery
1x battery 118g