I bought a couple of 68008 CPU's years ago always meaning to make something, as the 68000 series has a great instruction set and is fun to code on! First job was just to verify that I hadn't been sent a counterfeit or DOA part... sadly something that is always a possibility theses days. As I understand it the 68008 isn't as forgiving as say a z80 where you can throw some randomly variable clock signal at it and even emulate the rest of a system with a slow microcontroller. The only crystal I could find in my parts boxes was a 4mhz full can, this is probably way too fast to do anything reliably on a breadboard.... but yet as the cpu free cycled through the full range of the address bus I could see A19 flashing a LED on and off... well that's either an impressive fake or I have something I can play with!
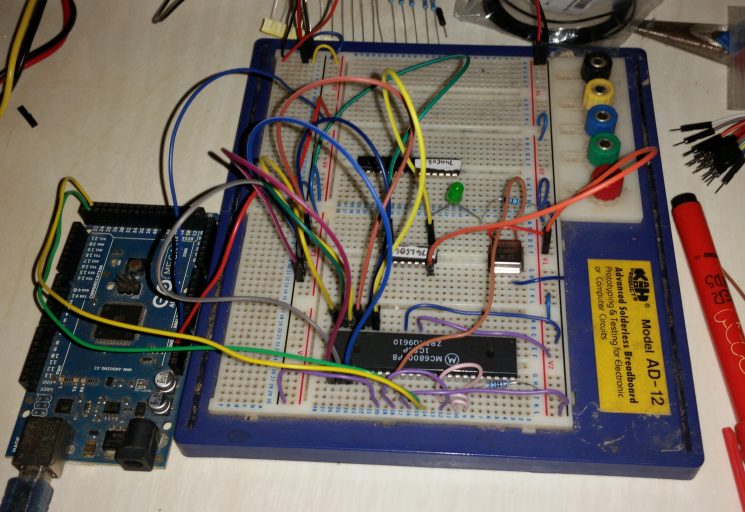
Looking at my next step, I decided I wanted to keep DTACK grounded, and chip selection as simple as possible. Remembering I had previously used a microcontroller to write to SRAM, before allowing a Z80 to run from it, I thought this might be a good strategy - I was already controlling HALT & RESET with an Arduino as I kinda suspected that throwing in some simple microcontroller to handle initialising and so forth might be useful. Its fairly trivial to write to SRAM with a micro controller. Other than the signals that the controller keeps hold of (RESET & HALT) once I'd read back and verified the ram I set all the ports on the address and data bus as inputs so they have no impact on the buses.
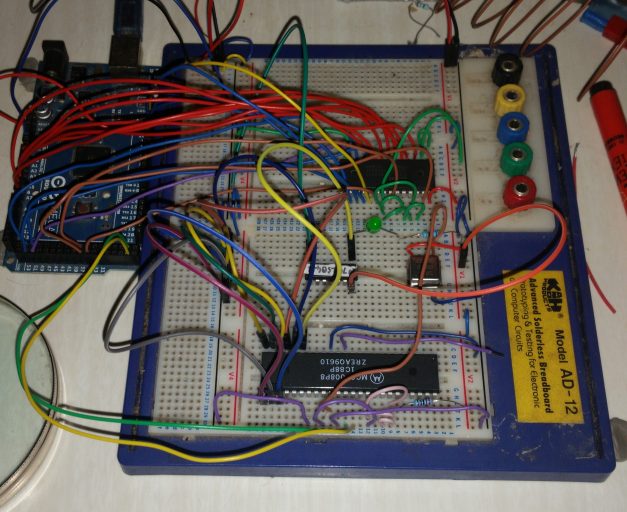
Now we're starting to look like a proper mess of wires! The last step was to connect up the CPU to the SRAM and let it rip... Which would have happened a lot sooner if I'd realised I hadn't reconnected the CPU's VCC connection after completing the previous step programming the SRAM. While it can run a simple program (you guessed it, to flash the LED) its really quite unreliable. There are a number of reasons for this, as previously mentioned I'm running it at 4mhz, frankly I'm amazed I'm getting anything at all out of it running this speed on a breadboard! I need to have a good look at my power supply, while the 10A automotive regulator runs a PI4 just dandy, looking on the oscilloscope I was surprised how dirty it looks and it is a tad over voltage :-o and if all that isn't bad enough I haven't put in any decoupling capacitors (other than what the breadboard is giving me!) Another thing to note is I'm only using the first 256 bytes of SRAM so after the stack and reset vector I'm running code inside the vector table (which could potentially be confusing things) I plan to allow the Arduino to access the full 32KB of the SRAM at the start of memory...
So what's next, well I have a 2mhz crystal on order and a 512kb SRAM, (I'll keep the 32KB and have the extra 512kb in the upper half of the memory map, somewhere in between I want some memory mapped latches and LEDs (naturally) At some point I might throw an SD card at the microcontroller and see if I can't load SRAM from the SD card at the 68008's command... More fun to be had at a later day me thinks!